

Accurately measuring veneered MDF is crucial for ensuring a successful project, whether you're a professional contractor, a DIY enthusiast, or involved in large - scale construction. As a veneered MDF supplier, I understand the importance of precise measurements and the impact they have on the final outcome. In this blog post, I'll share some essential tips and techniques on how to measure veneered MDF accurately.
Understanding Veneered MDF
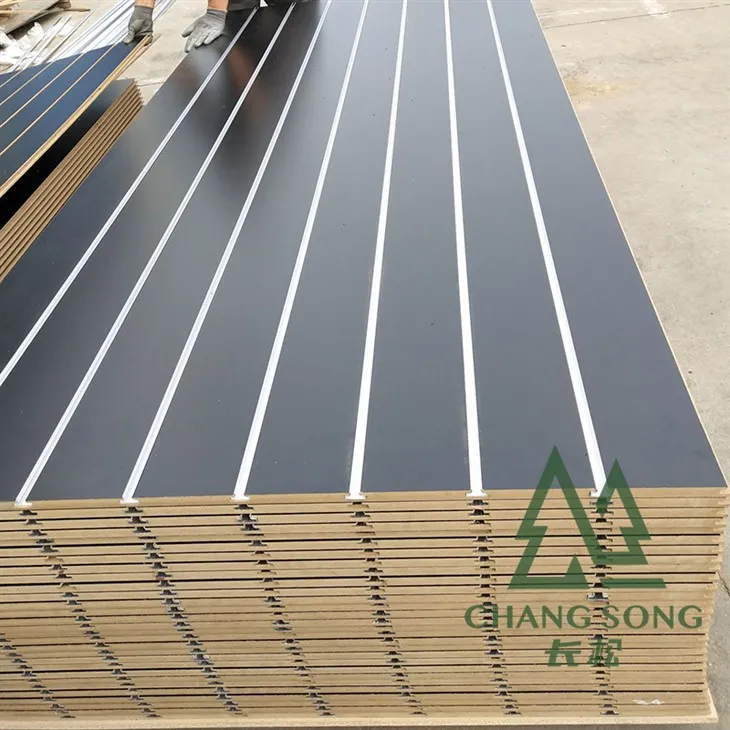
Before we delve into the measurement process, it's important to have a basic understanding of veneered MDF. Veneered MDF is a composite material made by bonding a thin layer of natural wood veneer to a medium - density fiberboard (MDF) core. This combination offers the aesthetic appeal of natural wood with the stability and affordability of MDF. There are different types of veneered MDF available, such as Melamine Faced MDF, Oak MDF Sheets, and Slotted Wall MDF, each with its own unique characteristics and applications.

Tools Required for Measuring
To measure veneered MDF accurately, you'll need the right tools. Here are some essential tools that you should have on hand:
- Tape Measure: A good - quality tape measure is a must - have. Look for one with clear markings and a sturdy construction. A 25 - foot or 30 - foot tape measure is usually sufficient for most projects.
- Square: A combination square or a framing square can be used to ensure that your measurements are at right angles. This is important when cutting veneered MDF for corners or edges.
- Caliper: For measuring the thickness of the veneered MDF, a caliper is the best tool. It can provide precise measurements, which is especially important if you're working on a project that requires a specific thickness.
- Pencil and Paper: You'll need a pencil to mark your measurements on the veneered MDF and paper to record the measurements.
Measuring Length and Width
The first step in measuring veneered MDF is to determine the length and width. Here's how you can do it:
- Prepare the Workspace: Lay the veneered MDF on a flat and stable surface. Make sure there are no obstructions or debris on the surface that could affect the measurement.
- Measure the Length: Start at one end of the veneered MDF and extend the tape measure along the longest side. Make sure the tape measure is straight and not twisted. Read the measurement at the other end of the veneered MDF. Record the measurement to the nearest 1/16 of an inch or millimeter, depending on your preference.
- Measure the Width: Repeat the process for the shorter side of the veneered MDF. Measure from one edge to the other and record the measurement.
Measuring Thickness
Measuring the thickness of veneered MDF is equally important, especially if you're using it for a specific application that requires a certain thickness. Here's how you can measure the thickness:
- Select the Right Spot: Choose a spot on the veneered MDF where you want to measure the thickness. Make sure the area is free from any damage or irregularities.
- Use a Caliper: Open the caliper jaws and place them on either side of the veneered MDF at the selected spot. Gently close the jaws until they touch the surface of the veneered MDF. Read the measurement on the caliper scale. Record the measurement accurately.
Measuring Angles
In some projects, you may need to measure angles for cutting the veneered MDF. Here's how you can do it:
- Determine the Angle: If you know the angle you need, you can use a protractor or a combination square to measure it. Place the protractor or square on the veneered MDF at the corner or edge where you want to cut. Align the markings on the tool with the edges of the veneered MDF and read the angle measurement.
- Mark the Angle: Once you've measured the angle, use a pencil to mark it on the veneered MDF. You can then use a saw to cut along the marked line.
Accounting for Waste and Expansion
When measuring veneered MDF, it's important to account for waste and expansion. Here's what you need to consider:
- Waste: When cutting veneered MDF, there will be some waste due to the width of the saw blade. Make sure to add a little extra to your measurements to account for this waste. A general rule of thumb is to add 1/8 to 1/4 inch to your measurements, depending on the type of saw you're using.
- Expansion: Veneered MDF can expand or contract due to changes in humidity and temperature. If you're installing the veneered MDF in an area with high humidity or temperature fluctuations, you should leave a small gap around the edges to allow for expansion. The amount of gap will depend on the size of the project and the environmental conditions.
Double - Checking Your Measurements
Before you start cutting the veneered MDF, it's always a good idea to double - check your measurements. Here's how you can do it:
- Re - measure: Measure the length, width, thickness, and angles again to make sure they're accurate. Compare the new measurements with the ones you previously recorded.
- Check for Consistency: Make sure that all your measurements are consistent. For example, if you're measuring multiple pieces of veneered MDF, the measurements should be the same for each piece.
Conclusion
Accurately measuring veneered MDF is an essential skill that can make a big difference in the success of your project. By using the right tools, following the proper measurement techniques, and accounting for waste and expansion, you can ensure that your veneered MDF fits perfectly and looks great.
If you're in the market for high - quality veneered MDF, I encourage you to reach out to discuss your specific requirements. Whether you need Melamine Faced MDF, Oak MDF Sheets, or Slotted Wall MDF, I'm here to help you find the right product for your project. Contact me today to start the procurement process and let's bring your project to life!
References
- Woodworking magazines and books on measuring and cutting materials.
- Manufacturer's guidelines for veneered MDF products.


